> For the complete documentation index, see [llms.txt](https://docs.userdesk.io/llms.txt). Markdown versions of documentation pages are available by appending `.md` to page URLs; this page is available as [Markdown](https://docs.userdesk.io/product-guides/add-the-chatbot-widget-to-your-website/wordpress.md).
# WordPress
After you have customized your live chat, you will now learn how to install the Userdesk Chatbot into your WordPress site to give you the ability to chat directly with website visitors in real time.
First, you will need to **log in to your WordPress settings** and then **add a plugin** to install the Userdesk Chatbot code into your site.
There are many plugins that you can use and here are some plugins that we think you could consider:
* [Code Snippets](https://wordpress.org/plugins/code-snippets/)
* [Custom CSS and JavaScript.](https://wordpress.org/plugins/custom-css-and-javascript/)
* [Insert Headers and Footers](https://wordpress.org/plugins/insert-headers-and-footers/)
* [Code Embed](https://wordpress.org/plugins/simple-embed-code/#description)
* [Scripts n Styles](https://wordpress.org/plugins/scripts-n-styles/)
* [Simple Custom CSS and JS](https://wordpress.org/plugins/custom-css-js/)
**Note:** The above plugins are our recommendations but you can always choose another one [here](https://wordpress.org/plugins/)
We will use the plugin [Simple Custom CSS and JS](https://wordpress.org/plugins/custom-css-js/) for this setup example. And after installing the plugin, please follow these steps:
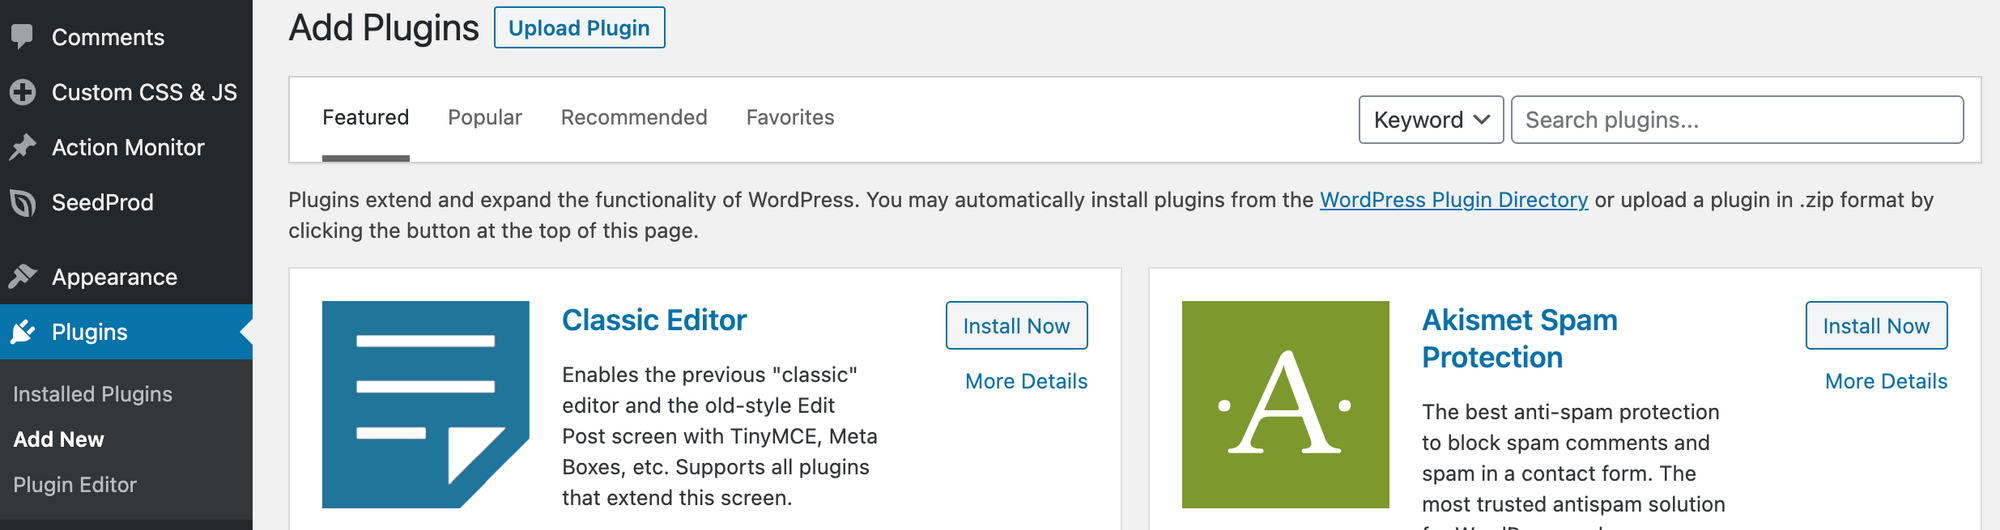
**Step 1**: Go to **Plugins** section > Search Simple Custom CSS and JS > Click **Settings**.

**Step 2**: Click **Add HTML Code** button.
**Step 3: Go back to Userdesk and copy the Chatbot embed code that you want to install by going to CHATBOTS >** Choose the Chatbot **> Embed.**[****](https://chative.io/en/docs/add-livechat-to-wordpress#step-3-go-back-to-chativeio-system-and-copy-the-live-chat-code-that-you-want-to-install-by-going-tochannels-choose-the-channel-installation)
**Step 4**: Copy the Chatbot embed code in the **Install the Chat widget on your website** section.
**Step 5**: Go to WordPress plugins and click on **Settings** for **Simple Custom CSS and JS**.
**Step 6**: paste the code copied in **Step 4**.
**Step 7**: Save the process by clicking the **Publish** button on the right corner.
Now, the Chatbot widget will be available to your WordPress website visitors 🎉
If you have any issues, or you need to support another platform, feel free to [reach out to us](mailto:undefined).